
Having a week off from interning has freed me up a lot of time, so I thought I would have a little me time and experiment with my nails. I have always wanted to give ombre nails a go so looked up a couple of tutorials and found such an easy way to do it, and using these colours gives it quite a cool galaxy effect. I thought I would share it with all of you, because I'm nice like that.
Things You Will Need:
Lilac Nail Polish- I am using Barry M's Berry Ice Cream
Light Blue Nail Polish- I'm using Barry M's Cobalt Blue
Dark Blue Nail Varnish- This is one I bought on holiday from a random stall, but this is a similar one.
Top Coat
Nail Polish Remover
A Section of a Make Up Sponge
Cotton Buds

Start with clean nails and apply a base coat if you so wish (I didn't as I don't think it actually does any favours in keeping the nail polish on and the colour is so light I know it won't stain my nails). Then apply two coats of your chosen base colour, in this case the lilac.

Then get the section of your makeup sponge and fold it in
half to create a kind of roll, holding this in place just paint generous strips
of your chosen three colours onto the sponge. Make sure the colours overlap
slightly as this makes them blend slightly better. Then place the sponge onto
your finger nail and create a kind of dabbing motion to ensure your whole nail
is covered. Repeat this on each finger.

As you can see, this creates a huge amount of mess, which for a neat freak like myself is hell to look at. But it can be fixed in no time! Take your cotton bud and dip it into your nail polish remover, then just go around the edges of your nails to tidy up any unwanted mess on your cuticles.

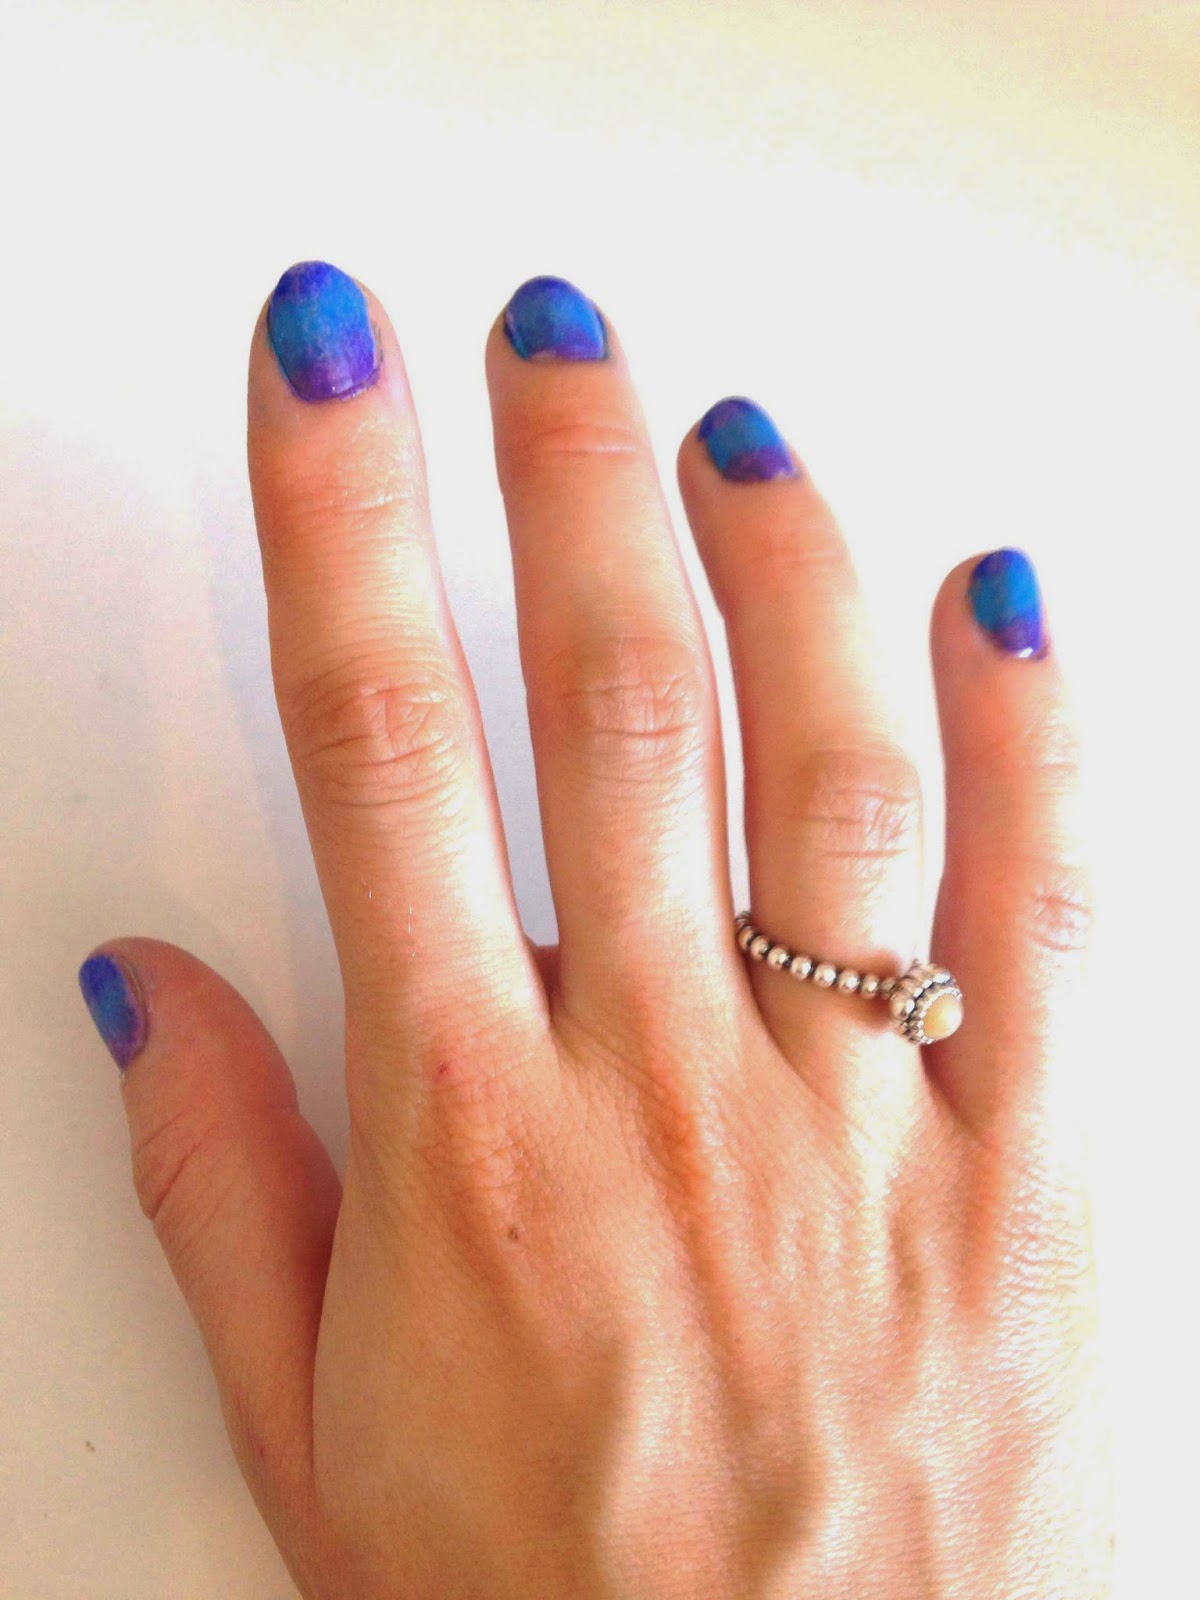
Ta daaaah! Now I would just finish off by sealing it all in with a top coat, but this is only to your preference. The great thing about this easy trick is that the possibilities are endless, you can make as many colour combinations as you wish, and I would love to see some of your creations!


0 comments:
Post a Comment